PETG Ultimate Filament Printing Guide [2022]
Your ultimate guide to printing in PETG
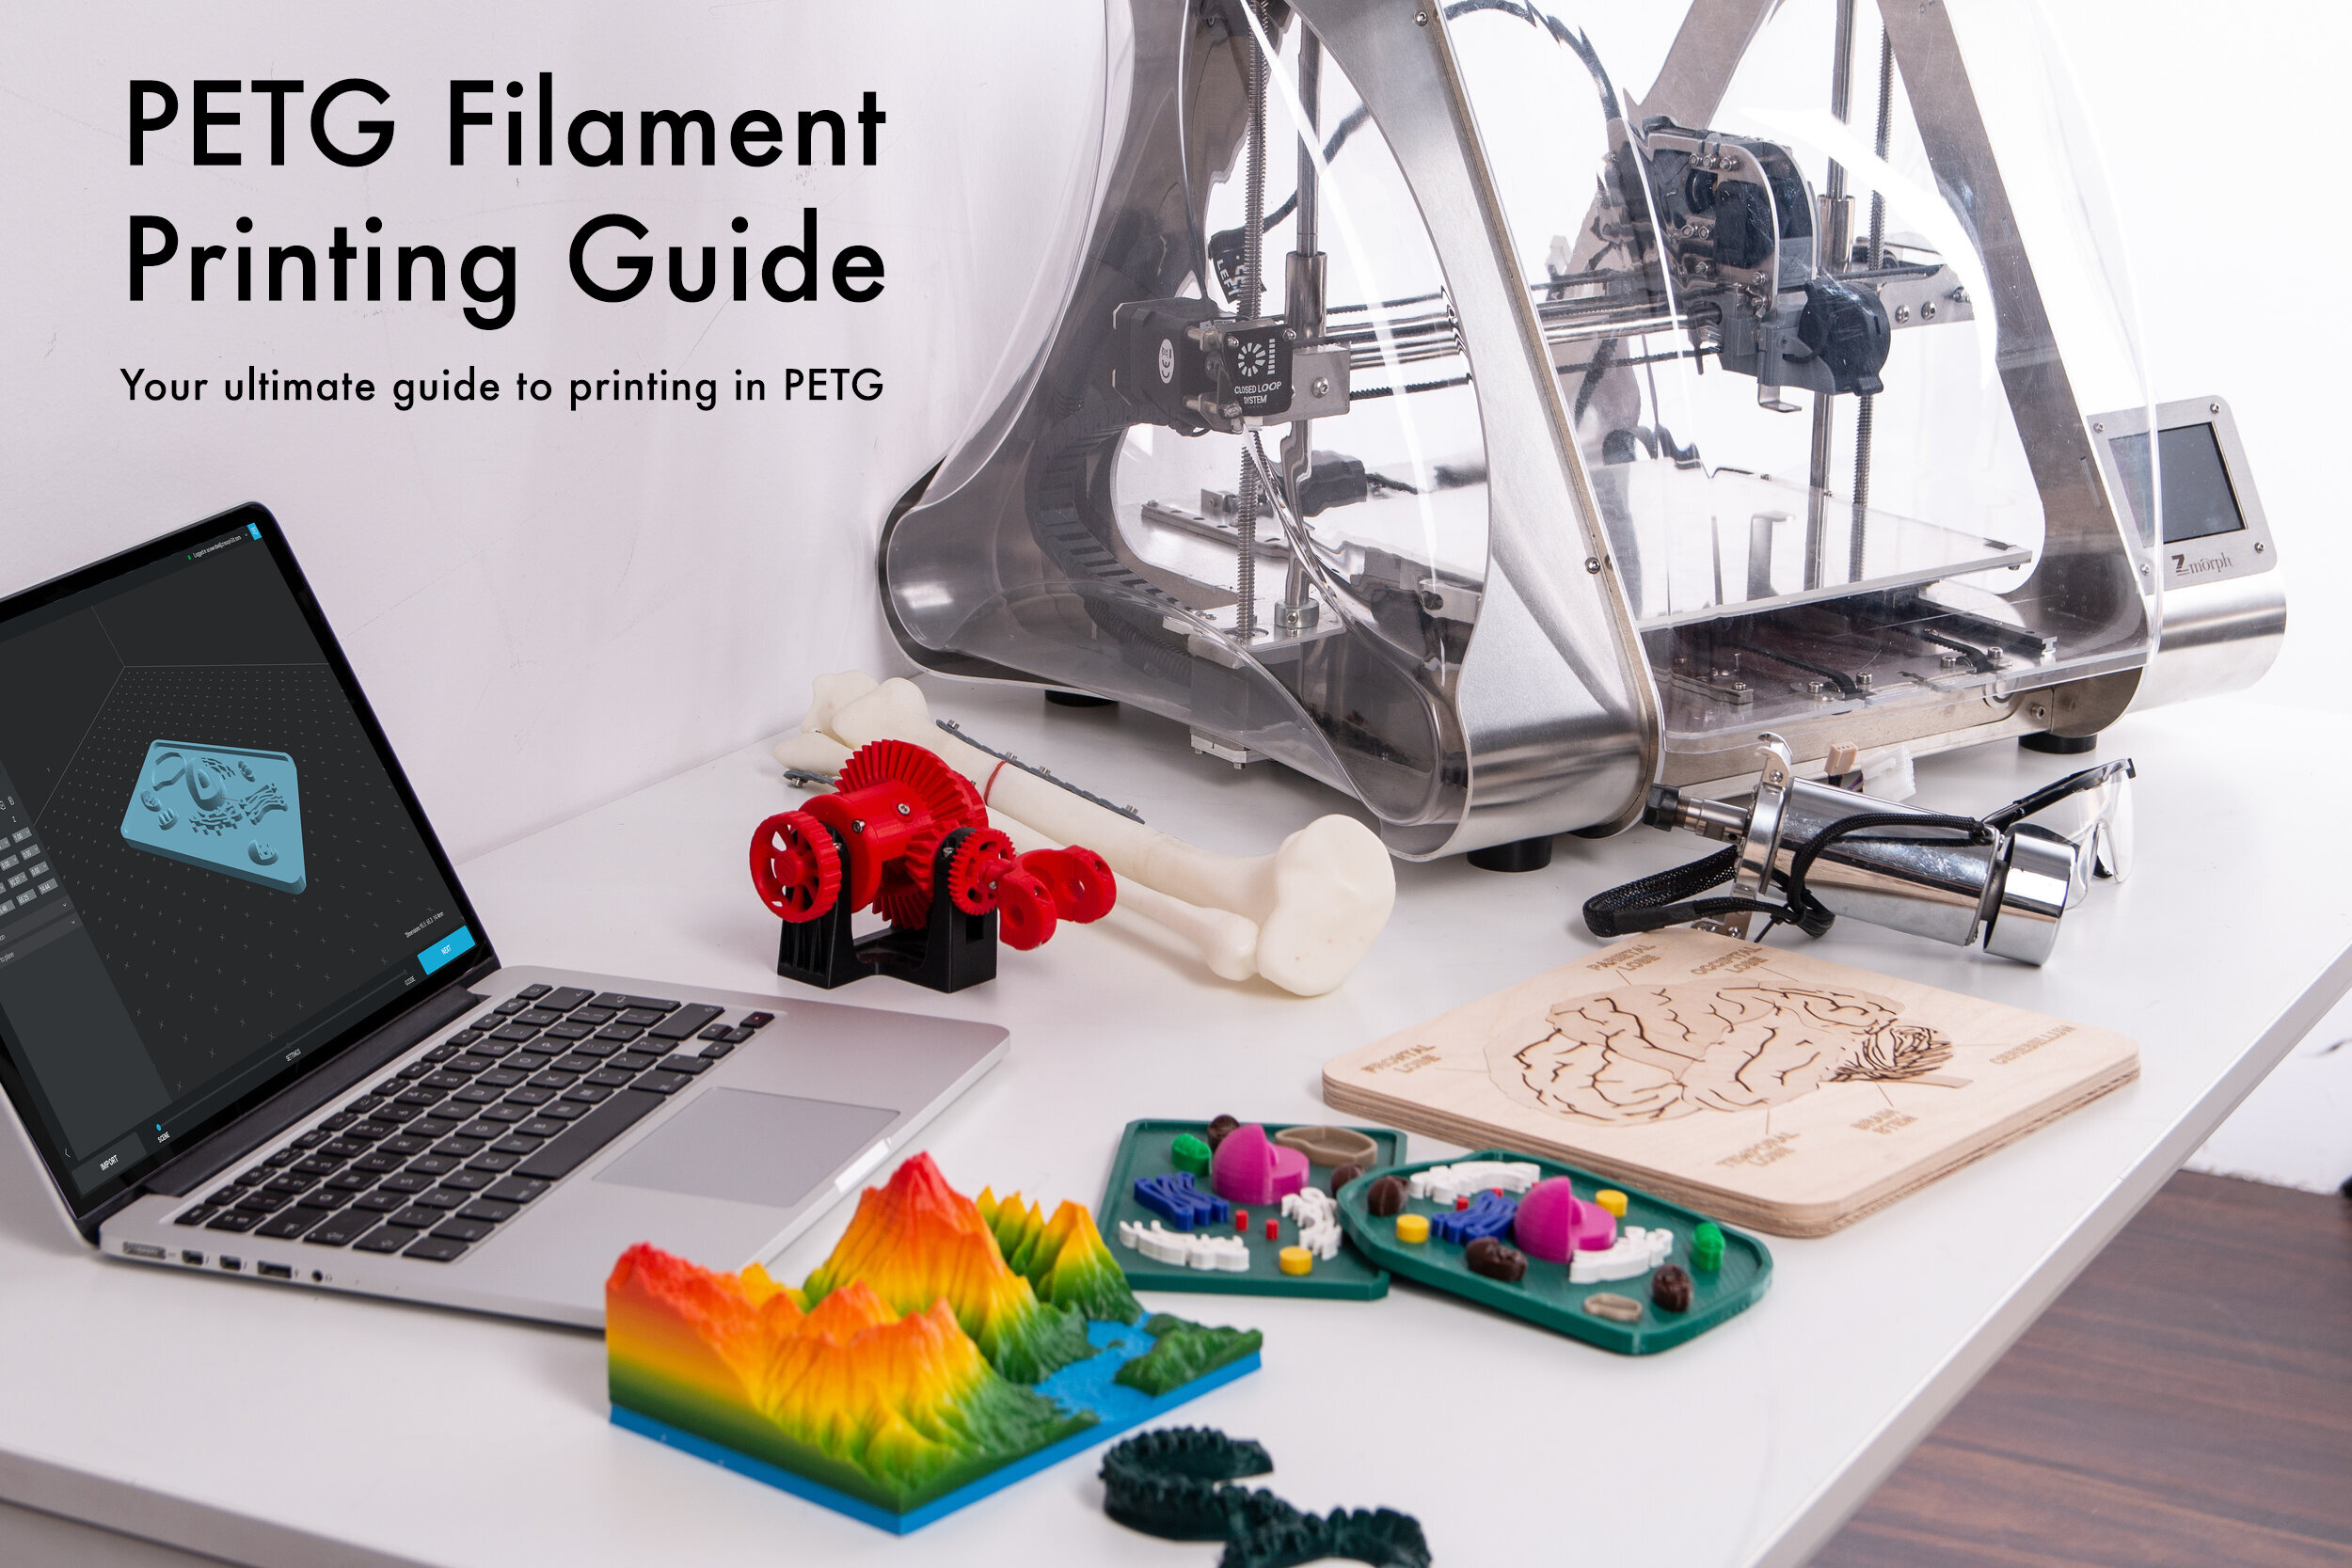
Your complete guide to 3D printing with PETG, covering best practices and tips for perfect prints.
How to succeed when printing PETG and troubleshooting common problems step-by-step
Download our free PETG Printing Guide, packed with printing tips and settings suggestions
Your PETG FAQ’s answered
PETG is a favourite in the world of 3D printing. PETG combines the best qualities of both PLA and ABS. Boasting the functionality and durability of ABS while retaining the printability of PLA, PETG is also great for mechanical applications due to its amazing layer adhesion, low warping and high impact-resistance. As an added bonus, PETG is both chemically resistant to salts, acids, alkalis, solvents, greases, oils and can be sterilised!
That being said, PETG does have some unique properties that make it slightly challenging to print for the uninitiated.
To help you, we’ve compiled a list of our 8 most helpful tips and tricks to help you master this versatile 3D printing material.
PETG Printing Tips
SLICER SETTINGS

1. Increased Z Offset
Allow for an extra 0.02mm to 0.06 mm offset when printing in PETG. Unlike PLA and ABS, PETG doesn't perform well when it is squeezed onto the print bed. Failure to do so often causes the nozzle to skim over the material that has just been printed. This material accumulates before being deposited on the print as light strings or globs that solidify and increase the chance of your nozzle colliding with the print. Small holes can also form on the skin of your print where material has been picked up by the nozzle.

2. Proper Temperatre Control
PETG is prone to stringing and oozing. When printing PETG start with the lowest suggested temperature recommended by your filament manufacturer. For Standard Print Co. PETG we recommend printing at 220°C and increasing the print temperature only if extrusion problems become evident. A bed temp of between 70°C - 80°C is recommended. Print the first two layers with the bed at 80°C if possible. Should adhesion problems occur, try using blue painter's tape or hairspray.

3. Proper Fan Control
Rapid cooling of the molten filament by increasing fan speed will ensure a clean, crisp print. A fan speed of 100% can be used to ensure the best surface resolution possible when printing PETG. If a strong print is what you are after, disabling your fan and setting the fan speed to 0% will ensure your print has great interlayer adhesion. Be careful though as this may come at the cost of surface resolution. We recommend starting at 40% and increasing as necessary.

4. Retraction
Increasing the retraction speed and distance will decrease that amount of material that oozes out of the nozzle between print moves. Turning on retraction settings in your slicer will tell your printer to actively rewind some filament at the end of a print move, causing a negative pressure to build up in the nozzle. We recommend starting with a retraction speed of between 30-80mm/s and a retraction distance of between 2-5 mm for a Bowden setup or 1-2mm for a direct drive printer.

5. Print Slower
If you are having problems with interlayer adhesion or print quality, try printing a little slower. We've found that printing at 55mm/s or slower yields great results. Printing at speeds greater than 60mm/s and your printer may struggle to lay filament down fast enough. Layers may have problems sticking to one another and in more extreme cases, causing blobs, zits, stringing and holes in the print.

6. Flow Control
PETG is sensitive to over extrusion. If you've tried all the steps outlined above and you're getting excessive stringing/blobbing, the problem may be linked to over extrusion. This occurs when the printer extrudes more filament than intended, causing sloppy layers and excessive material to build up on the hot end.
To remedy this issue, simply reduce the flow of filament in 5% increments to check that the filament is extruding correctly and not over extruding. Convlersley if you are getting thin, wispy layers that aren’t adhering properly, you may be underextruding. To remedy this issue, dial up your flow rate in 5% increments.
FILAMENT CARE

7. Unload Filament
Whenever possible, when not printing with PETG (and all other filaments for that matter), unload the filament from the printer and store it in an airtight container in a cool dry place to keep it dry. Ensure the desiccant that comes with the filament is also stored in the same container to keep the filament in optimal printing condition.

8. Keep Filament Dry
PETG is prone to absorbing moisture from the air when left out (being hygroscopic) and hydrolyses when wet, resulting in weaker interlayer bonding on the molecular level. Wet filament can be rescued by dehydration in an oven at 60°c for a minimum of 6 hours or by storing the filament in a container with ample amounts of desiccant for a minimum of 24 hours.
Troubleshooting Guide - PETG Edition

My PETG 3D Print Won’t Print
My PETG 3D Print Doesn’t Look Right
My PETG 3D Print Is Experiencing Problems
Problem: Poor Bed Adhesion
Level Bed
First check if your bed is manually level as per your printer's instruction manual. An uneven bed is usually the most common culprit when it comes to poor part adhesion.
Print with a brim
Printing with the brim option turned on increases the total surface area of the first layer. This increased surface area results in increased adhesion to the bed, which is often enough to keep the corners of your print stuck down. This minimises corners lifting and helps keep the print stuck onto the bed.
Increase bed temperature
After leaving the nozzle, molten filament solidifies. As it cools, it contracts along the lateral surfaces. This contraction in turn causes stress, pulling the edges inwards. Increasing the heat bed temperature allows printed layers to cool slowly decreasing the amount of contraction experienced at the base of your printed model. We recommend printing PETG with the heat bed temperature at around 70-80°C. If you have the ability to do so, printing the first two layers slightly hotter (80°C) will aid in print adhesion.
Decrease Fan Speed for first few layers
Lowering the fan speed or setting fan speed to 0% for the first few layers will ensure the molten filament has more time to flow and conform onto the surface of your print bed, aiding in adhesion.
Clean print bed
Loose debris such as dust or un-removed support material from previous prints inevitably coat the surface of your print bed over time. While these generally don’t present a problem in small quantities, they can pose a problem with adhesion if allowed to build up as they can prevent your first later from properly adhering with the build plate. A quick wipe of glass build surfaces with common, household glass cleaners (ammonia based) like Windex can be an effective way of removing print residue. For build surfaces such as PEI build surfaces, a light sand with 600+ grit sandpaper can remove any protruding debris, gently roughing up the surface of the PEI and greatly aiding in adhesion. For other advanced, composite build surfaces such as our Ziflex build surfaces or the stock build surfaces on printers such as our Creality CRX and CR-10 PRO’s a light scrape with the scraper supplied is often enough to removing stubborn, stuck on debris. When faced with even more stubborn, melted on 3D print material that simply won’t budge, printing a 1- or 2-layer thick sheet, the size and shape of the printer’s entire build plate in a material like PETG can do the trick. After printing, allow the sheet to cool and peel off the sheet along with the offending debris (now stuck onto the 3D printed sheet).
Temporary adhesives
If you’re looking for a more temporary solution or are just in a pinch and need something to stick to the build plate, there are a few temporary solutions to the problem:
Painters Tape: Blue painters tape can serve as a great temporary solution to increase your part’s adhesion to the build plate. It’s easily applied and even easier to remove after a print. Be sure to stick your tape down evenly, ensuring that there are no overlaps in the tape that could cause high spots in your otherwise level build plate.
Hairspray: A light spray of hairspray on the build plate is a popular method of aiding adhesion to the bed. We’re not a fan of this method as after a few prints, a build-up of solid hairspray can accumulate on the bed and it’s tricky to clean. With the advent of heated build plates on most printers, the need for hairspray has decreased but sometimes it may just be the only thing at hand when you’re in a pinch.
Print bed upgrades
If your printer is not equipped with a PEI coated build surface (or similar) and instead comes with an aluminium or glass print bed out of the box, you may consider upgrading to a composite build surface such as our Ziflex build surface for a more permanent fix to the problem. Coated print surfaces are designed to make your prints stick when hot and release when cool. While smooth print surfaces such as glass and aluminium are great for removing prints once they are done, but their smooth surfaces present an issue when you really need your print to stick when printing.
3D Printing Problem Checklist: Poor Bed Adhesion
Level bed
Print with a brim
Increase bed temperature
Decrease fan speed for initial layers
Clean bed
Temporary adhesives
Print bed upgrades
Problem: Nozzle-Part Collision
Increase Z offset
PETG has great interlayer adhesion, making for super durable prints. Unfortunately unlike PLA and ABS, it needs a little extra room to be gently “lain” down on the preceding layer as opposed to being “squeezed down”. When a Z offset is too low and the filament is squeezed onto the preceding layer (or bed), the nozzle often skims over what it has previously lain down, accumulating molten material around the nozzle that is eventually deposited onto the print. In most cases the nozzle is hot enough and the obstruction small enough that the hot nozzle simply passes through the obstruction, melting it as it passes through. If the obstruction is too large however, a collision may take place that completely dislodges the part from the bed or worse - damage the printer. Try increasing the Z offset in 0.02mm increments.
Decrease Draughts/Increase Ambient Temperature
After leaving the nozzle, molten filament solidifies. As it cools, it contracts along the lateral surfaces. This contraction in turn causes stress, pulling the edges inwards and causing prints to warp. This warping can be especially pronounced on long, unsupported, parts of 3D models. When warping occurs on these sorts of parts, it often occurs in a more pronounced manner, presenting a high risk of collision with the nozzle. Slowing the rate at which the model cools by placing the 3D printer in an enclosure is usually the most effective remedy for this problem. Failing that, ensuring that the printer is printing in a warm area free of draughts will ensure a slow and consistent cooling rate for your 3D prints and decrease the amount of warping experienced. Generally as a rule of thumb, most materials other than PLA will benefit from warmer ambient temperatures and higher enclosure temperatures. In the case of PETG, we recommend enclosing printers to keep as much heat in as possible.
Manual Support Generation
See above. Strategic placement of support material below such parts of your 3D print may be one of your best tools to combat collisions. Most slicers have a manual support generation function which allow you to manually generate and place supports in problem areas.
3D Printing Problem Checklist: Nozzle Part Collision
Increase Z offset
Eliminate draughts/increase ambient temperature
Generate manual supports
Problem: Stringing
Increase Z offset
PETG has great interlayer adhesion, making for super durable prints. Unfortunately unlike PLA and ABS, it needs a little extra room to be gently “lain” down on the preceding layer as opposed to being “squeezed down”. When a Z offset is too low and the filament is squeezed onto the preceding layer (or bed), the nozzle often skims over what it has previously lain down, accumulating molten material around the nozzle. This molten blob then makes its way down onto the model at the end of a print move where it sticks both to the print and the nozzle. As the nozzle moves, this molten blob stretches, forming light PETG “strings”. We suggest increasing the Z offset in your slicer by 0.02mm over your usual PLA/ABS print settings. If problem persists, increase Z offset in 0.02mm increments to a recommended maximum of 0.06mm.
Decrease Nozzle Temperature
Molten PETG at higher temperatures has a lower viscosity than at lower temperatures. Lowering the print temperature makes the molten PETG less “runny” and can decrease the amount of filament that oozes out between print moves. Start printing at the lowest recommended printing temperature indicated for your filament, increasing the print temperature only if the printer struggles to extrude the filament. Signs that you may need to increase the nozzle temperature can include your extruder gears grinding, slipping or filament failing to extrude from the nozzle.
Increase Fan Speed
Rapid cooling of the molten filament by increasing fan speed will ensure a clean, crisp print should you require better surface resolution at the cost of interlayer adhesion. A fan speed of 100% can be used to ensure the best surface resolution possible.
Increase travel speed
When a nozzle is at printing temperature, molten plastic filament will inevitably begin to slowly ooze out. This isn’t a problem until a nozzle is travelling between print layers in what’s called a travel move. A method for compensating for this is by increasing the travel speed and decreasing the amount of time that molten filament has to flow out of the nozzle between moves. Begin by entering a ludicrously high number (9999mm/s) in your slicer to find out the maximum allowable travel speed that your printer will allow and work with a value 20% lower than this value. This will provide a great balance between the long-term reliability of your printer as well as minimising the amount of filament oozing out.
Increase retraction speed and distance
Increasing the retraction speed and distance will decrease that amount of material that oozes out of the nozzle. Turning on retraction settings in your slicer will tell your printer to actively rewind some filament at the end of a print move, causing a negative pressure to build up in the nozzle. This encourages less filament to ooze out upon the completion of a print move. Begin at the lowest recommended setting and adjust in 10mm/s increments for retraction speed and 0.2mm increments for retraction distance. NOTE: Retraction distance does vary depending on the type of feeding system your printer uses: Bowden or direct drive. Don’t know what your printer has? Pay close attention to where the feeder gears are in relation to the hot end. If the feeder gears are right next to your hot end, you’ve got a direct drive printer. If there is some distance between your feeder gears and the hot end - seperated by a tube - you’ve got yourself a Bowden setup. Adjust your retraction distances accordingly using the figures below.
Retraction Speed: 30-80mm/s
Retraction Distance: Bowden: 2 - 5mm
Direct: 1 - 2mm
3D Printing Problem Checklist: Stringing
Increase Z offset
Decrease nozzle temperature
Increase fan speed
Increase travel speed
Increase retraction speed and distance
Problem: Zits And Blobs
Increase the Z-offset
PETG has great interlayer adhesion, making for super durable prints. Unfortunately unlike PLA and ABS, it needs a little extra room to be gently “lain” down on the preceding layer as opposed to being “squeezed down”. When a Z offset is too low and the filament is squeezed onto the preceding layer (or bed), the nozzle often skims over what it has previously lain down, accumulating molten material around the nozzle. In major cases, this accumulated blob of molten PETG is deposited on the layer being printed causing an unsightly “Zit”, marring an otherwise smooth layer. We suggest increasing the Z offset in your slicer by 0.02mm over your usual PLA/ABS print settings. If problem persists, increase Z offset in 0.02mm increments to a recommended maximum of 0.06mm.
Decrease the Flow
PETG is sensitive to overextrusion. If you've tried all the steps outlined above and you're getting excessive stringing/blobing, the problem may be linked to overextrusion. Try reducing the flow of filament in 5% incriments and check that the filament is extruding correctly and not overextruding. You should start to see a decrease in the amount of stringing, blobing and prinitng of unwanted artifacts on your model. Try printing a calibration cube with your new reduced flow settings to check that the flow has not beed decreased too much.
3D Printing Problem Checklist: Zits and Blobs
Increase Z Offset
Decrease Flow
Problem: Holes In Print
Increase Z offset
PETG has great interlayer adhesion, making for super durable prints. Unfortunately unlike PLA and ABS, it needs a little extra room to be gently “lain” down on the preceding layer as opposed to being “squeezed down”. When a Z offset is too low and the filament is squeezed onto the preceding layer (or bed), the nozzle often skims over what it has previously lain down, accumulating molten material around the nozzle. In major cases, this accumulated blob of molten PETG can even pull up the molten plastic that has just been laid down, causing a small hole to appear on the surface of a print. The creation of these holes is closely linked to print speed. An improper Z offset height coupled with a print speed that is too fast can increase the likelihood of holes forming in the skin of a print. We suggest increasing the Z offset in your slicer by 0.02mm over your usual PLA/ABS print settings. If problem persists, increase Z offset in 0.02mm increments to a recommended maximum of 0.06mm.
Decrease print speed
The creation of these holes is closely linked to a problem with the Z offset being too low. See above. 55mm/s represents the upper limit of recommended print speed when printing in PETG. We’d recommend starting at 55mm/s and decreasing print speed in 5mm/s increments. We find 35mm/s print speed yields great results.
3D Printing Problem Checklist: Holes In Print
Increase Z offset
Decrease print speed
Problem: Elephant’s Foot
Level Heat Bed
Closely related to warping, elephant’s foot occurs when the bottom of a 3D print splays out at the point where it contacts the heat bed. Rather than being related to any single issue, elephant’s footing is usually the result of a combination of factors. To resolve this issue, we recommend addressing the problem using this solution, in conjunction with the two listed below. Before altering any slicer settings, we recommend first checking that your printer is in the optimal condition for printing. Elephant’s foot is often caused when molten filament is “squeezed” onto the heat bed instead of being deposited evenly. This causes the filament to escape in the only manner than it can - by squeezing out in the X and Y axis. Ensuring your printer’s bed is level before printing is often the first and easiest fix for solving elephant’s footing.
Increase Z Offset
Increase the Z offset gives the filament more room to be deposited in an even manner, allowing it to cool in the desired shape without compressing the print on the Z axis. We suggest increasing the Z offset in your slicer by 0.02mm over and above your usual PLA/ABS print settings. If problem persists, increase Z offset in 0.02mm increments to a recommended maximum of 0.06mm.
Decrease Heat Bed Temperature
As your printer prints, layers of filament are deposited, one atop of another. Should the heated be too hot, the first few printed layers may not have enough time to cool and fully solidify before the subsequent layers are added. If this is the case, as the printer continues to print, the added weight of subsequent layers may cause the still soft layers of your print to deform and bulge outward, resulting in the characteristic shape of an elephant’s foot. To prevent this, decrease your printer’s heat bed temperature by increments of 5°C until the issue is resolved. If you have decreased the heat bed temperature to a point where part adhesion becomes an issue, (roughly 20°C below the filament’s recommended print bed temperature) the printer’s bed temperature may not be the problem.
3D Printing Problem Checklist: Elephant’s Foot
Level Heat Bed
Increase Z offset
Decrease Het Bed Temperature
Problem: Print Warping Around Edges
Use a heated print bed
Most printers of the current generation come with a heated build plate. During a print the print bed is heated to a point just below the melting point of the material being printed - the material’s “glass transition temperature”. While the glass transition temperature of PETG is generally 80°C, this temperature may vary from manufacturer to manufacturer. Standard Print Co. PETG has a glass transition temperature of 80°C.
Print with a brim
Printing with the brim option turned on increases the total surface area of the first layer. This increased surface area results in increased adhesion to the bed, which is often enough to keep the corners of your print stuck down. This minimises corners lifting and helps keep the print stuck onto the bed.
Eliminate Draughts/Increase Ambient Temperature
After leaving the nozzle, molten filament solidifies as it cools. As it cools, it contracts along the lateral surfaces. This contraction in turn causes stress, pulling the edges inwards. Slowing the rate at which the model cools by placing the 3D printer in an enclosure is usually the most effective remedy for this problem. Failing that, ensuring that the printer is printing in a warm area free of draughts will ensure a slow and consistent cooling rate for your 3D prints and decrease the amount of warping experienced. This means relocating your printer out of high traffic areas such as large open rooms or areas that may see lots of opening or closing of doors. Generally, most materials other than PLA will benefit from warmer ambient temperatures and higher enclosure temperatures. In the case of PETG, we recommend enclosing printers to keep as much heat in as possible.
Allow heat bed to heat up completely
Another common problem linked to warping is uneven heating of the heat bed. While most 3D printers come with heated build plates, it’s important to note that the heating element doesn’t always span the full size of the heat bed.
The position of the hearing element is also important as most printers are designed with the heating elements located at the centre of the heat bed. Add a thicker than usual build plate made of glass or aluminium into the mix and more often than not, your printer’s thermometer may often be indicating that it has come up to full temperature when in fact the sides and surface has yet to do so. It’s therefore important to let the bed come to temperature by allowing the bed (but not the nozzle) to hold at printing temperature for at least 10 mins before beginning a print.
Temporary adhesives
If you’re looking for a more temporary solution or are just in a pinch and need something to stick to the build plate, there are a few temporary solutions to the problem:
Painters Tape: Blue painters tape can serve as a great temporary solution to increase your part’s adhesion to the build plate. It’s easily applied and even easier to remove after a print. Be sure to stick your tape down evenly, ensuring that there are no overlaps in the tape that could cause high spots in your otherwise level build plate.
Hairspray: A light spray of hairspray on the build plate is a popular method of aiding adhesion to the bed. We’re not a fan of this method as after a few prints, a build-up of solid hairspray can accumulate on the bed and it’s tricky to clean. With the advent of heated build plates on most printers, the need for hairspray has decreased but sometimes it may just be the only thing at hand when you’re in a pinch.
Increase bed temperature
After leaving the nozzle, molten filament solidifies. As it cools, it contracts along the lateral surfaces. This contraction in turn causes stress, pulling the edges inwards. Increasing the heat bed temperature allows printed layers to cool slowly decreasing the amount of contraction experienced at the base of your printed model. We recommend printing PETG with the heat bed temperature at around 70-75°C. If you have the ability to do so, printing the first two layers slightly hotter (80°C) will aid in print adhesion. (80°C)
3D Printing Problem Checklist: Warping around edges
Use a heated print bed
Print with a brim (increase surface contact area)
Eliminate Draughts/Increase Ambient Temperature
Allow heat bed to heat up completely
Use a temporary adhesive
Increase bed temperature
Problem: Poor Part Strength
Dry Your Filament
PETG is prone absorbing moisture from the air when left out (being hygroscopic) and hydrolyses when wet, resulting in weaker interlayer bonding on the molecular level. All things held equal, when used for printing, “wet” filament will always produce a mechanically weaker 3D printed part than “dry” filament. Keeping the filament dry in a sealed container with desiccant is integral for printing strong 3D printed parts. Whenever possible, when not printing with PETG (and all other filaments for that matter), unload the filament from the printer and store it in an airtight container in a cool dry place away from UV light. Ensure the desiccant that comes with the filament is also stored in the same container to keep the filament in optimal printing condition. Wet filament can be rescued by dehydration. This can be done by dehydrating the filament in a dehydration oven at 60°c for a minimum of 6 hours or by storing the filament in a container with ample amounts of desiccant for a minimum of 24 hours.
Decrease Fan speed
Slow cooling of the molten filament by decreasing fan speed to 0% will result in the strongest print possible. This will often come at the cost of surface resolution and detail. We suggest starting at 0% fan speed and increasing it in 10% increments until you find your desired balance of surface resolution vs print durability.
Reorient Print
The weakest part of a FDM 3D print will always occur between layers as opposed to along them. With that in mind, part strength can often be increased by simply reorienting your part when slicing.
3D Printing Problem Checklist: Poor Part Strength
Dry your filament
Decrease Fan Speed
Reorient Print
Problem: Print Stuck Onto Bed
Wait for part to cool
As plastic cools, it contracts on its own. This can often cause enough shrinkage at the base of the print to have it pop right off.
Use a paint scraper
Most 3D printers come with one of these right out of the box. If your printer didn’t come with one, they are available from most good hardware stores. If you’ve let your print bed cool down but your print is still stuck tight, try carefully positioning your paint scraper under a corner of your print to prise it from the bed. Ensure that you relevel your print bed after using this method to ensure it is level again.
Heat Up Print Bed
Warming up your bed to the glass transition temperature of your 3D printed part can aid in removal of the part. Using a scraper, carefully manoeuvre your scraper under the sharpest corner of your print, (if it has corners) making sure to not damage your part.
Use A Release Agent
PETG is known to stick so well on bare glass that it’s been known to take chunks of the heat bed along with it when removing prints. If this is happening or if you are having trouble removing prints from a glass printed, try letting the build surface come to room temperature before attempting to remove the print.
Hairspray: To aid in print removal give your print bed a light spray of unscented hairspray before printing. The hairspray serves as an intermediate agent that sits between the print and the build surface. This will aid with both initial first layer adhesion as well as acting as a release agent when the print has completed. Ensure your hairspray contains plenty of vinyl, acetate and copolymer for best results.
Painters Tape: Blue painters’ tape can serve as a great temporary solution to increase your part’s adhesion to the build plate as well as making it easy to remove your printed part when you’re done. It’s easily applied and even easier to remove after a print. Be sure to stick your tape down evenly, ensuring that there are no overlaps in the tape that could cause high spots in your otherwise level build plate.
Clean your print bed
A build-up of glue or hairspray may cause prints to stick to the bed too well. Periodic cleaning of your print bed with water (if you use glue) or with a cloth and isopropyl alcohol (if using hairspray) between prints will ensure your bed stays free of any unintended build-ups of adhesive.
Print bed upgrades
If your printer is not equipped with a PEI coated build surface (or similar) and instead comes with an aluminium or glass print bed out of the box, you may consider upgrading to a composite build surface such as our Ziflex build surface for a more permanent fix to the problem. Coated print surfaces are designed to make your prints stick when hot and release when cool. While smooth print surfaces such as glass and aluminium are great for removing prints once they are done, but their smooth surfaces present an issue when you really need your print to stick when printing.
3D Printing Problem Checklist: Print Stuck to Print Bed
Wait for part to cool
Use a paint scraper
Heat up print bed
Use a releasing agent
Clean your print bed
Print Bed Upgrades
Downloads

Find the guide above useful? Download your very own copy of our PETG Printing guide for FREE now!
Waste less filament on failed prints.
Spend less time tinkering with your printer in search of the “perfect settings”
Gain the confidence to print for longer
Expert advice with simple explanations
FAQ’s
+ What is the glass transition temperature of Standard Print Co. PETG?
+ Does Standard Print Co. PETG come in Transparent or semi-transparent colours?
+ Do you offer PETG in 2.85mm diameter filament?
Don’t see your question above? Got a great tip that wasn’t in the guide above? Post your question in the comments section below and we’ll try our best to answer it.