Cleaning Filament 5m

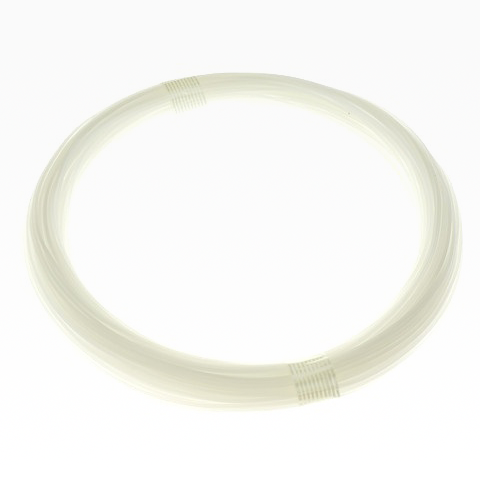
Cleaning Filament 5m
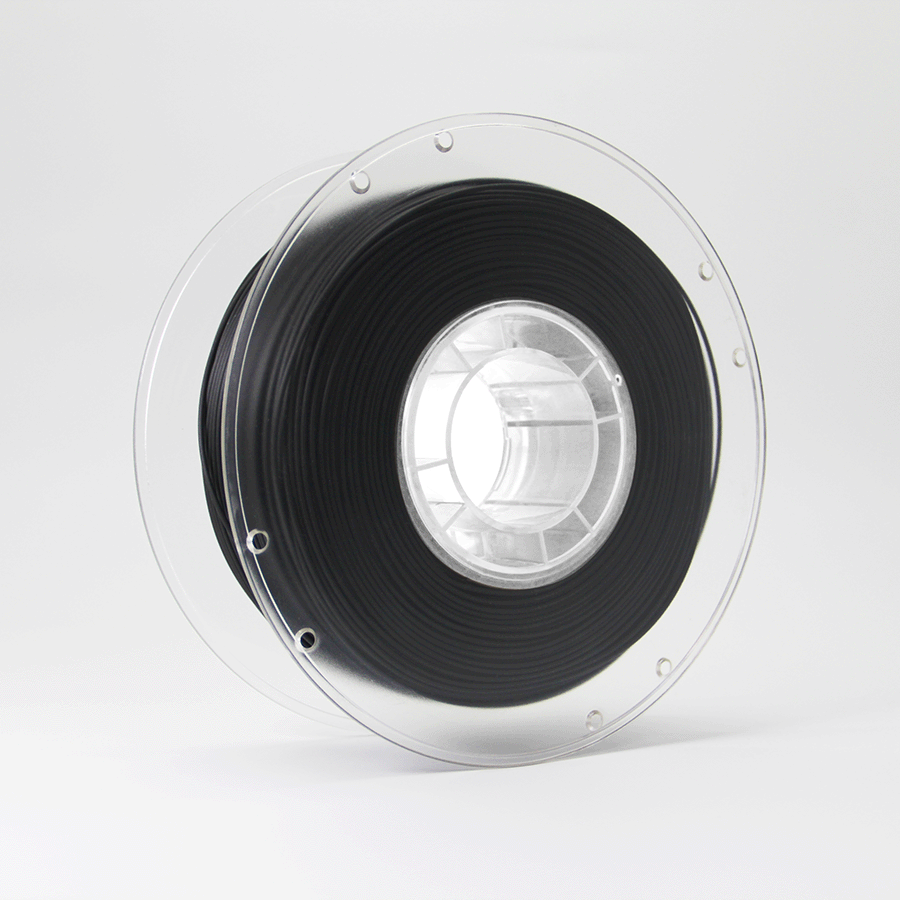
3D Printer Cleaning Filament
Length: 5 meters
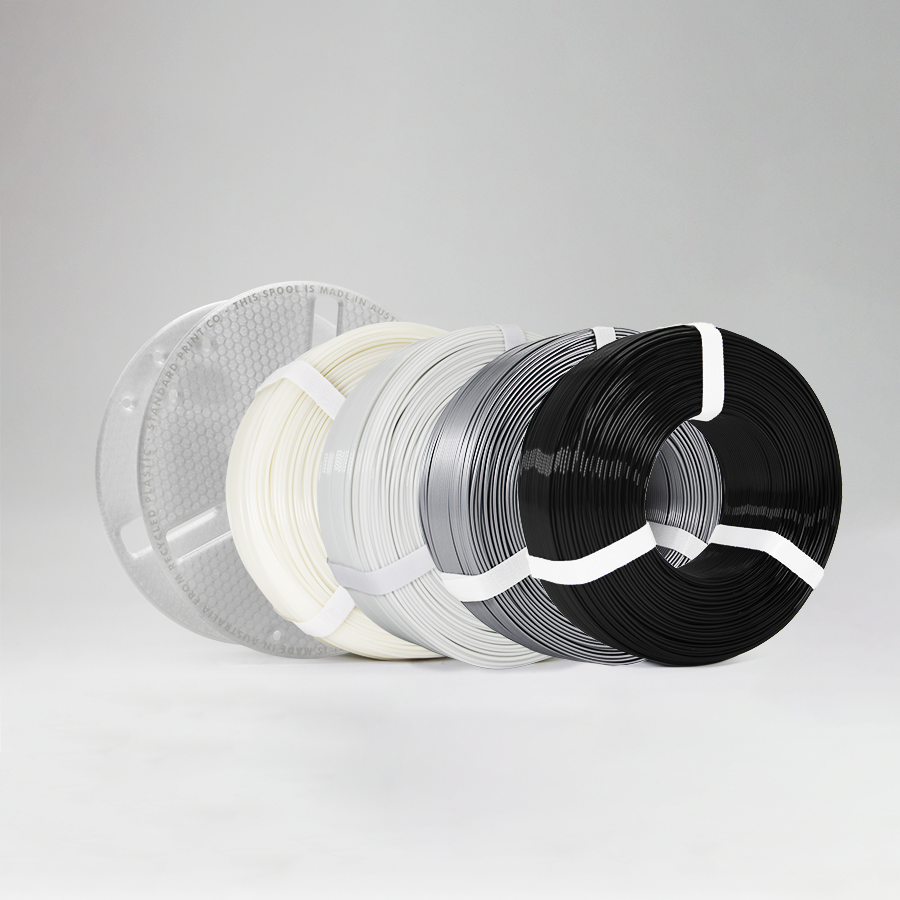
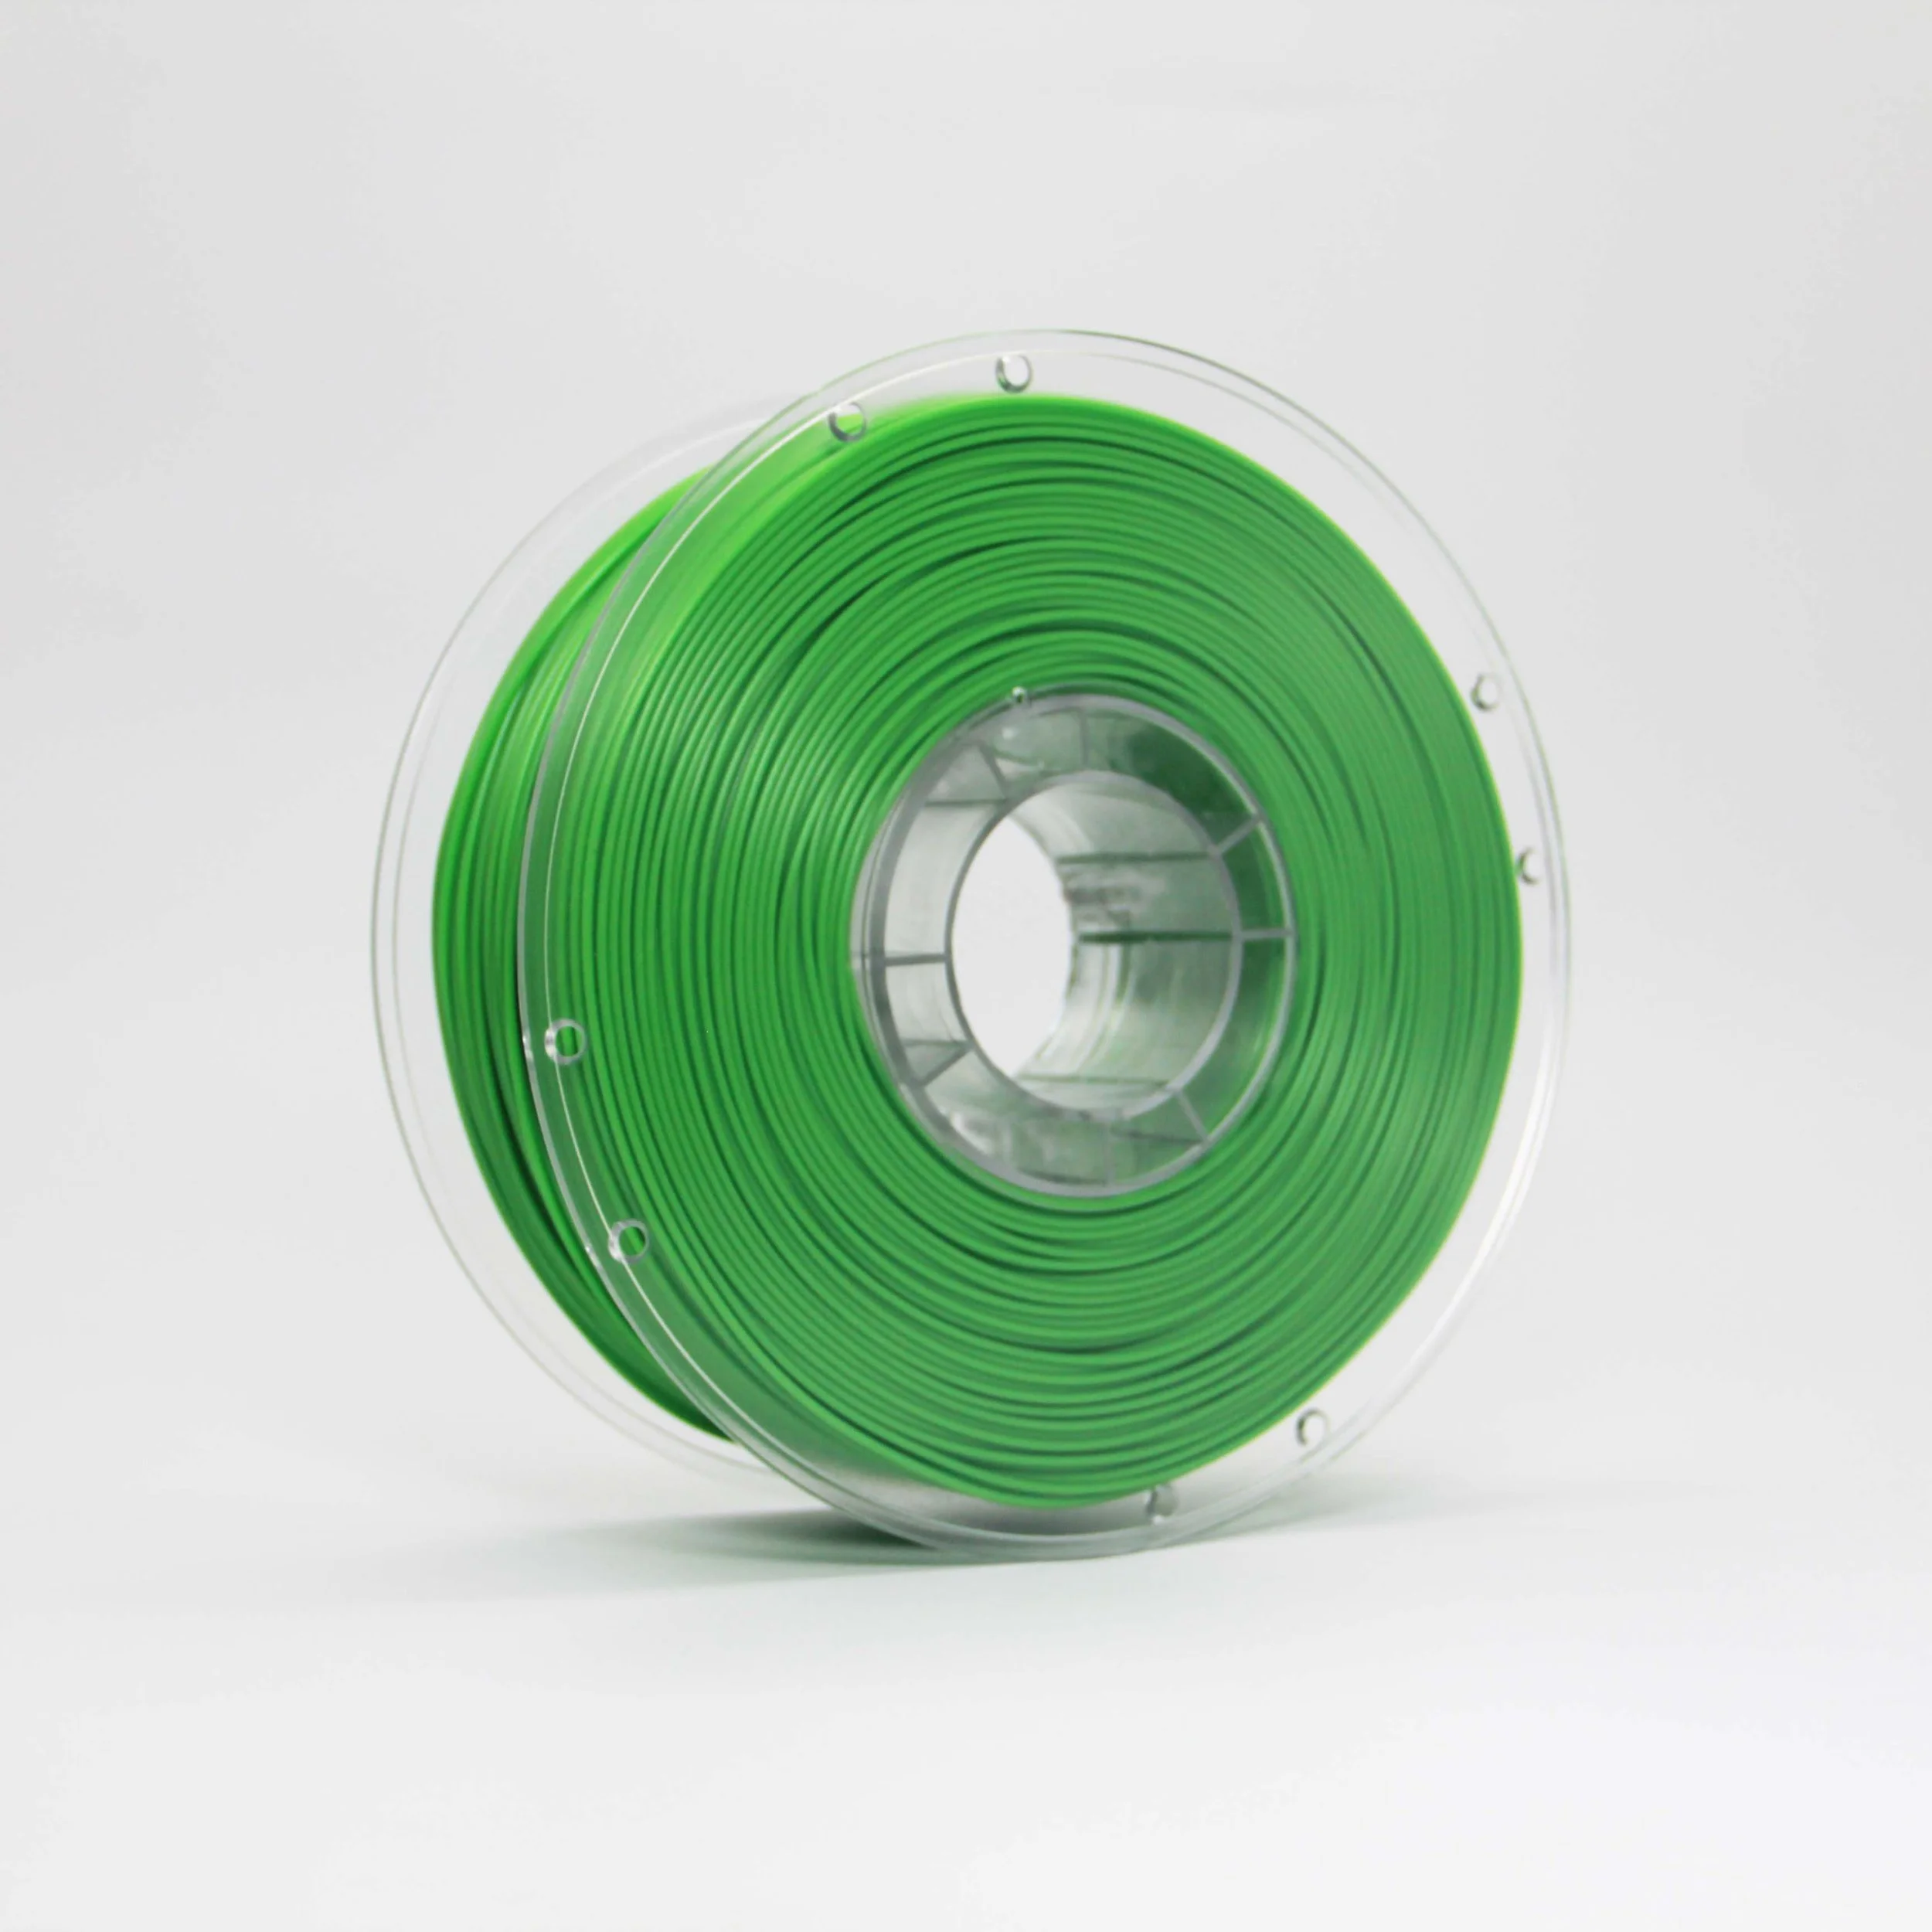
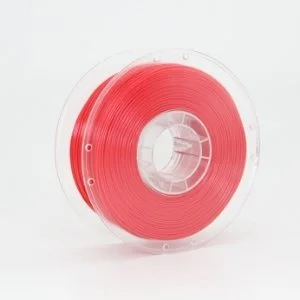
Colour: Natural
Material: Cleaning Filament
Nozzle Temperature: 230°C*
Diameter: 1.75mm ± 0.03mm

|
Cleaning Temperature: |
230°C |
Cleaning Method |
Cold Pull |
Colour: |
Natural |
Weight: |
12g ± 2g |
Length: |
5m |
If your 3D printer is not performing as well as when it was new, it could be a sign that a partial or full blockage is present in your 3D printer’s nozzle. Thankfully unclogging your printer’s nozzle is quick and easy when using the Cold Pull Method in conjunction with our specially designed Cleaning Filament. The Cold Pull Method is an effective means of removing debris and residue from the inside of your nozzle, requiring no disassembly of the printer.
Signs that your 3D printer’s may have a clogged nozzle.
Filament is failing to extrude from the nozzle.
A noticeable reduction in filament output is occurring.
Filament is exiting the extruder and immediately curling.
Abrasive filament such as carbon fibre filament or wood filament is commonly used.
The Cold Pull Method
Step 1. Determine if a clog is present - Bring your printer to the appropriate temperature for the material currently loaded into the extruder and pay close attention to the way the filament is exiting the nozzle. If you notice any of the 4 signs above, your printer may have a clogged nozzle.
Step 2. Raise the extruder head - using your printer’s manual controls, to allow easy vision and access to extruder head.
Step 3. Heat the nozzle - to 230°C and carefully manually feed filament through the hot end as far as possible. If a partial blockage is present, filament will start to exit the nozzle. If the nozzle is completely blocked, filament may not exit the nozzle at all. Should a complete blockage be present, simply feed the filament as far as it will go.
Step 4. Cool the nozzle - by setting your printer’s manual controls to 0°C, while still continuing pushing the filament down towards the nozzle. This will ensure that the cleaning filament will completely fill the nozzle cavity and completely envelop the debris inside. Ensuring the cavity is filled with the cleaning filament is essential to ensure the cleaning filament has a good grip on the contaminated material.
Step 5. Heat the nozzle and pull - Once the nozzle has cooled to an indicated 40°C, manually reset the extruder temperature to 230°C and prepare to pull the the cleaning filament out.
Step 6. Depress the pinch wheel - or any other part securing your filament to your printer (if it has one) and pull on the filament as the nozzle is heating up. Being carful not to pull too hard on the filament as to damage the printer and continue pulling on the filament as the nozzle heats up. The objective is to pull the filament out at the lowest possible temperature possible, ensuring that the filament stays as solid as possible, pulling any potential contaminants in the nozzle out.
Step 7. Inspect the top of the cleaning filament - for any contaminants. Possible contaminants could include charred filament, metal fragments and other debris that may have collected inside the nozzle. Cut off the tip of the cleaning filament to expose new filament being careful to reserve the cut length.
Step 8. Repeat steps 3 to 7 as needed - For best results, we recommend 4 pulls be completed, using the cut tips of filament from each cold pull to see how much contaminant has been removed.
Please note: The instructions above are provided for illustrative purposes only. While we do our best to provide clear instructions on how best use our tried and tested products, we cannot guarantee our products will be always handled correctly. As such, use of Standard Print Co's Cleaning Filament is to be carried out at ones own risk. For more information, see our Terms & Conditions .